1. 📝 Describe Your App
Open Tupley and enter a simple prompt to describe the kind of app you want to build. For example: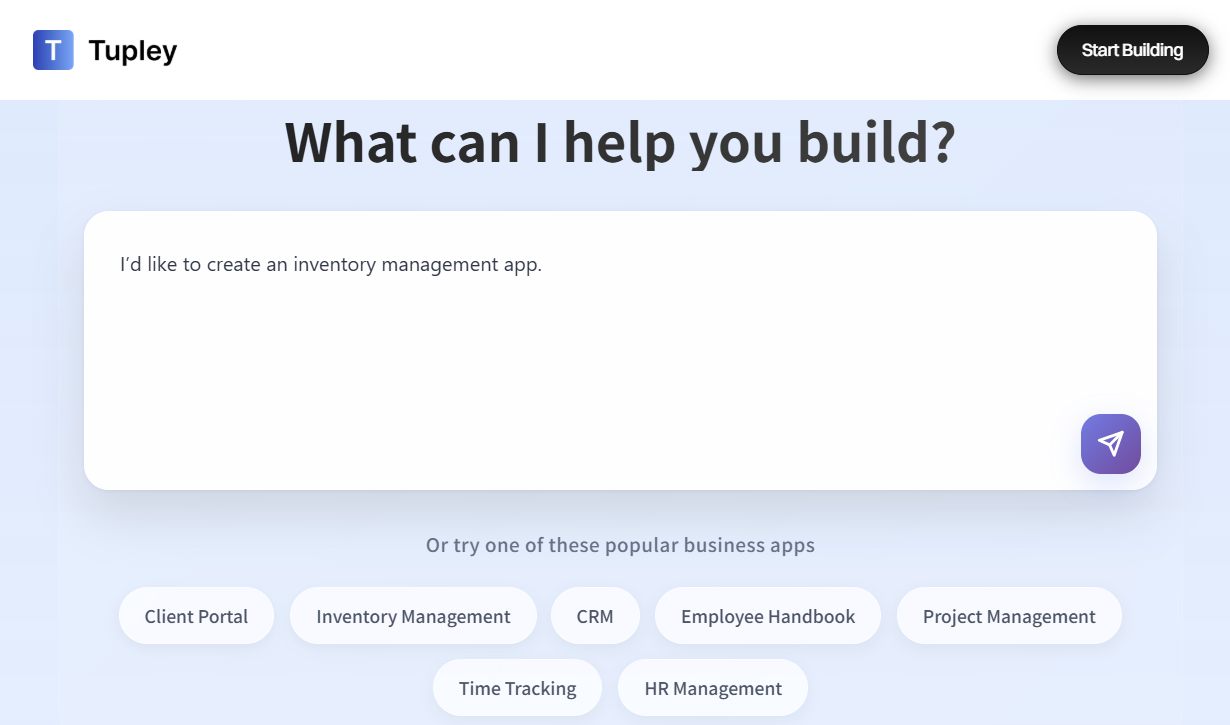
👥 Client Portal
📦 Inventory Management
📊 CRM
📖 Employee Handbook
📂 Project Management
⏱ Time Tracking
🧑💼 HR Management
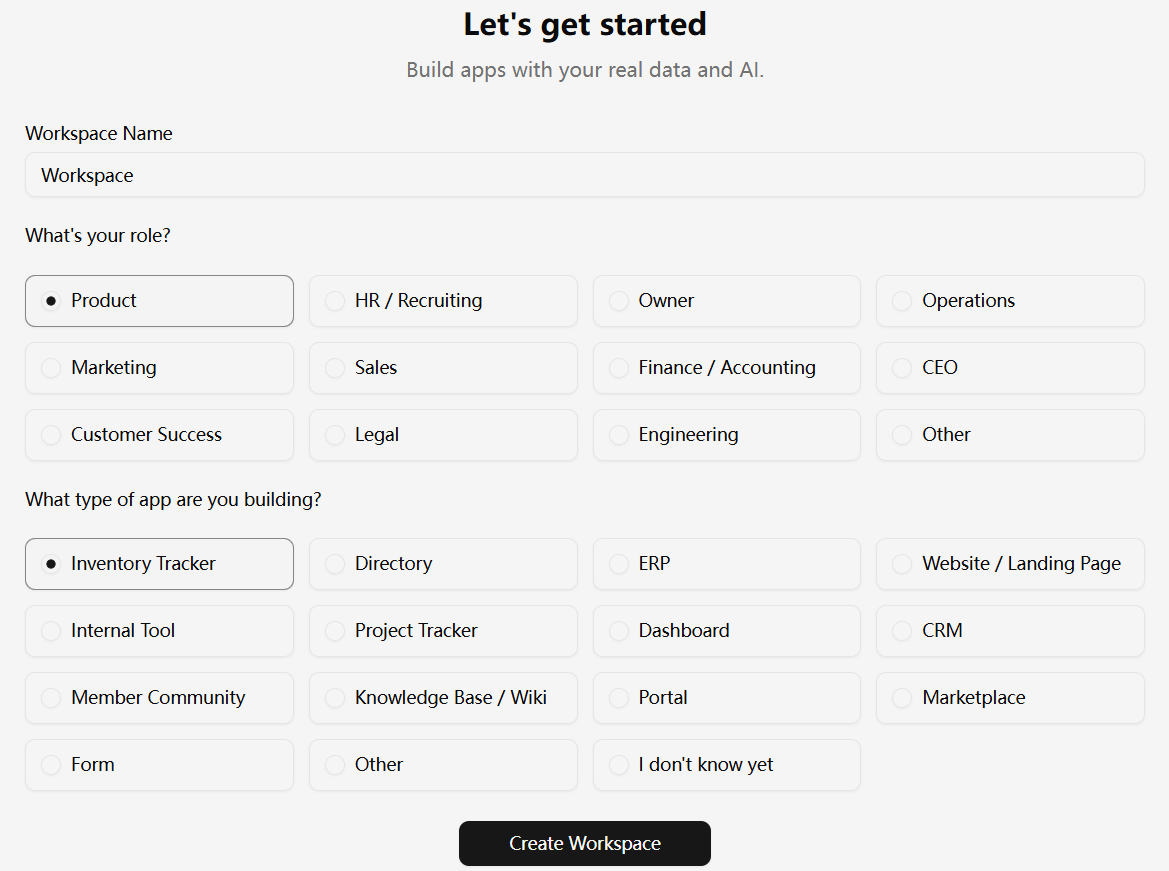
2. 🧩 Create a Workspace
After logging in, first-time users are prompted to create a workspace.1
Name it
Choose a clear, memorable name for your workspace.
2
Pick your role
This helps tailor defaults to your needs.
3
Choose what to build
Select the type of app you want to start with.
4
Create
Click “Create workspace” to continue.
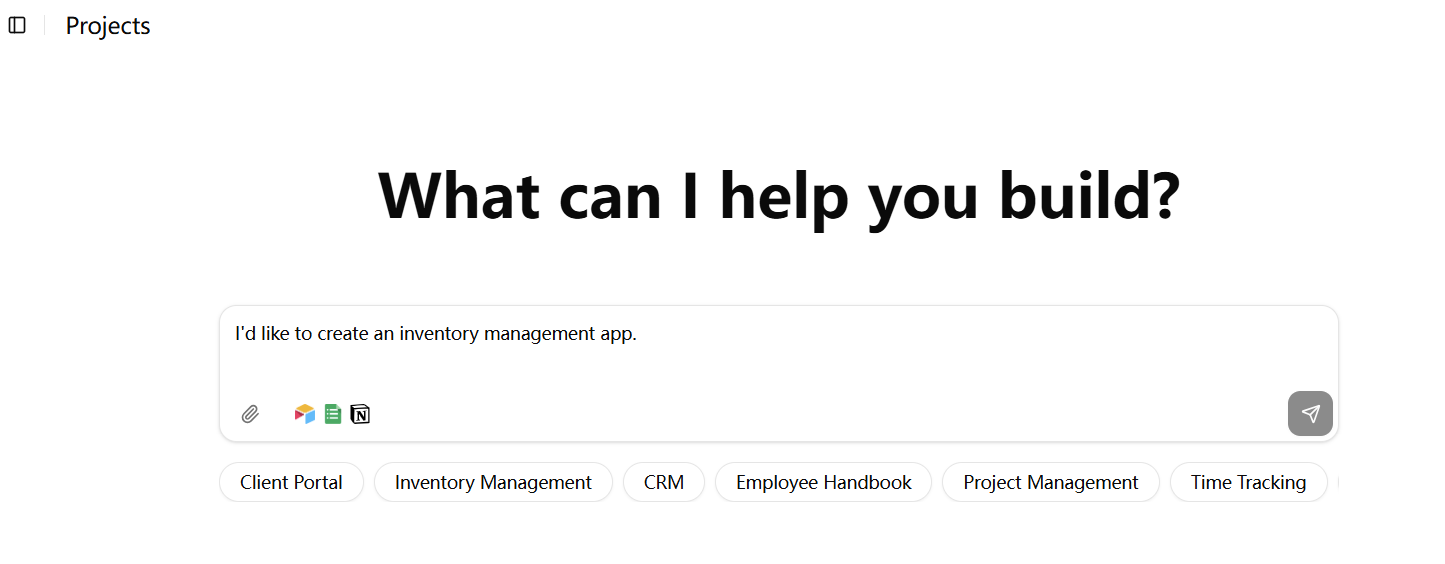
2. 🔗 Connect to a Database
Click the arrow button to continue. If you haven’t connected to a database yet, a dialog will appear asking you to link one. Currently supported databases:- ✅ Airtable
- Google Sheets - Coming soon
- Notion - Coming soon
- HubSpot - Coming soon
- Salesforce - Coming soon
3. ✨ Generate Your App
After connecting to a database (e.g., Airtable) and selecting a table, click the arrow button again to proceed.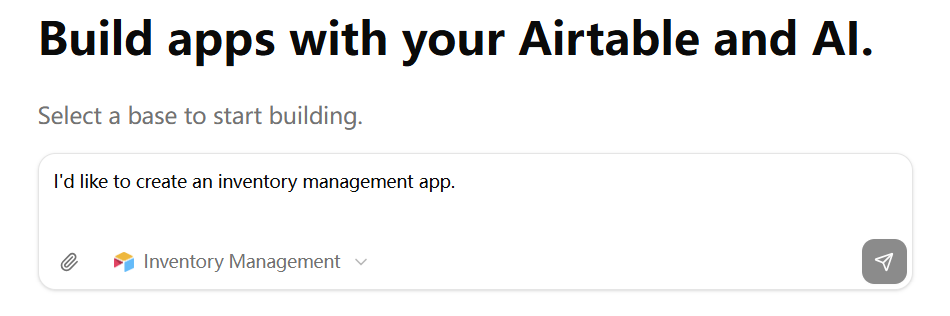
Tupley will analyze your input, split the work into tasks, prioritize them, and automatically build your app. A progress bar at the top of the page shows real-time updates.
4. 👀 Preview Your App
Once generation is complete, a live preview of your app will appear on the side panel.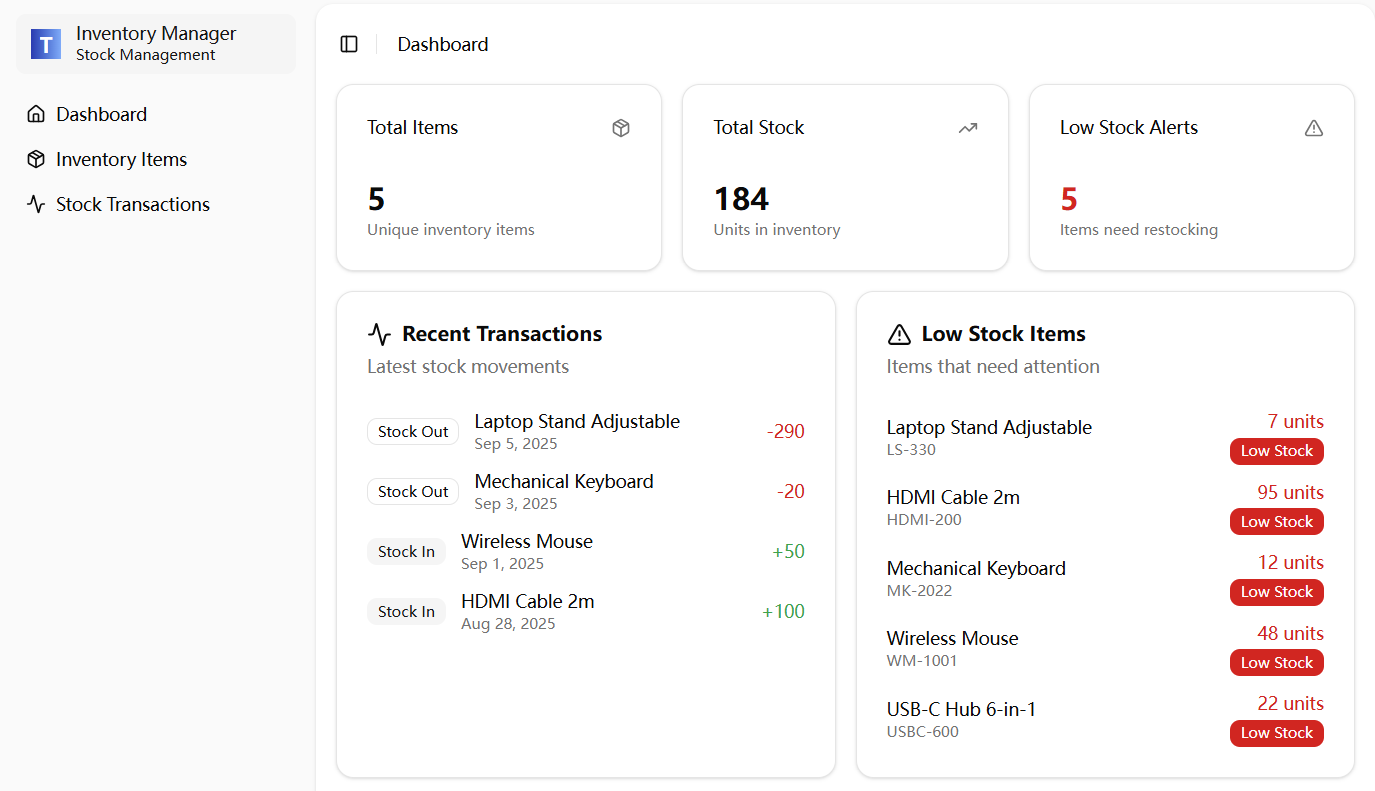
5. 🛠 Customize & Deploy
Use the editor to adjust layouts, text, or other interface elements. When you’re ready:1
👀 Preview
Preview the complete app to ensure everything looks perfect
2
🚀 Deploy
Deploy and use it with your team, clients, or customers
Success! In just a few minutes, you’ve built, customized, and deployed a fully working app — no coding required.