1
Initiate Deployment
Click the Deploy button in the top-right corner of your dashboard.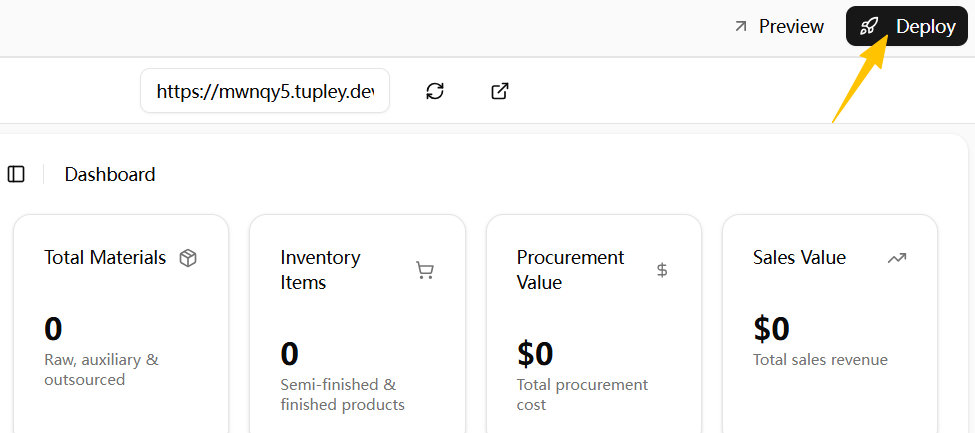
A deployment dialog will open to begin deployment.
2
Access Your Live Site
Once your project is successfully deployed, you’ll have several options to access and share your site: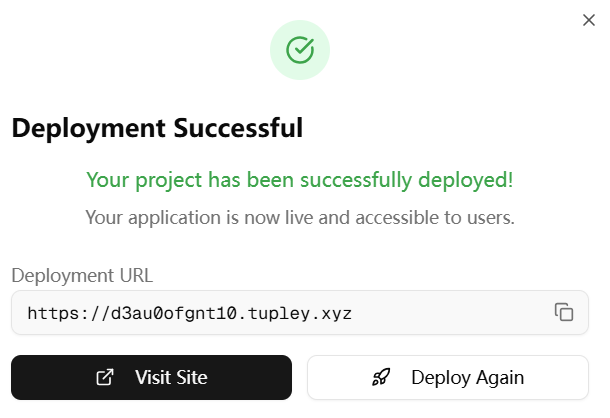
Copy Link
Use the Copy button on the right to quickly copy your site’s URL to your clipboard.
Visit Site
Click Visit Site to open and preview your live project in a new tab.
Making Updates
Important : If you make any changes to your project after deployment, you’ll need to click Deploy Again for the updates to go live on your published site.
Next Steps
After deploying your site, consider these additional actions:Share Your Documentation
Share Your Documentation
Monitor Performance
Monitor Performance
- Check your site’s loading speed and performance
- Monitor user engagement and feedback
- Set up analytics if needed
Iterate on Design
Iterate on Design
- If you’re not satisfied with the current design or have new ideas, go back to the agent and ask it to build or refine the site.
- Be specific about what to change (layout, colors, components, content).
- Click Deploy Again to publish your updates.